Guided Access mode allows you to lock down your Armadillo and Navigator kiosks. To set up a Guided Access session from your iPad, follow these steps:
1. Go to Settings > General > Accessibility > Guided Access.
2. Turn on Guided Access. From here, please also turn on the Mirror Display Auto-Lock setting, as when not toggled on, it will override and set the screen timeout to 20 minutes. We recommend keeping this on at all times to avoid this issue.

3. Tap Passcode Settings, then tap Set Guided Access Passcode.
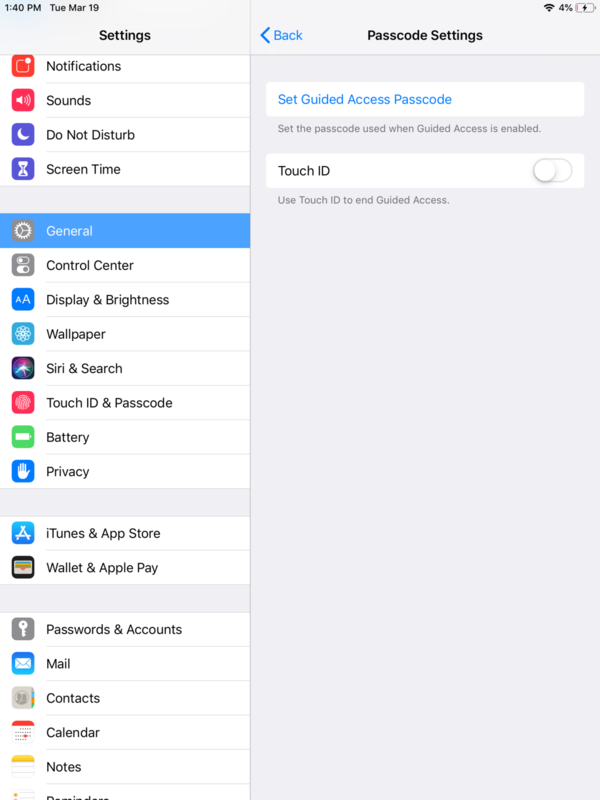
4. Enter a passcode, then reenter it. From here, you can also turn on Face ID or Touch ID as a way to end a Guided Access session.

To start a Guided Access session, follow these steps:
1. Open the app, then triple-click the Sleep button. The button is located on the top right of the device. On the Armadillo kiosk, there is a small hole on the top of the iPad enclosure. To access the sleep button, use the tool that was included with the device or a paperclip. On the Navigator kiosk, you can access the sleep button from the back of the enclosure.
2. Make sure that button access is disabled and Motion / Keyboards / Touch is enabled.
3. Tap Start.
More info about setting up guided access: https://support.apple.com/en-us/HT202612
You also want to turn off the iPad sleep settings.
1. Open the Settings app.
2. Go to the Display & Brightness tab.

3. Click Auto-Lock and set to Never.
